Master Every Stitch: The Ultimate Guide to Nahttypen for Flawless Results
The Ultimate Guide to Nahttypen: Master Every Stitch
Selecting the right way to join two pieces of fabric is the secret to making clothes that last for a long time. Many people call these different styles nahttypen, and they are the foundation of all sewing projects you will ever start. Whether you are fixing a small hole in your favorite shirt or making a brand-new dress from scratch, knowing your stitches is very important. When you use the correct technique, your seams will not rip or pull apart when you move. This guide will walk you through every single detail so you can feel like a professional tailor every time you sit down at your sewing machine with confidence and excitement.
Understanding the world of nahttypen is actually much easier than most people think once you break it down into simple, manageable steps. You do not need to be an expert with years of practice to see a massive difference in the quality of your work right away. All you need is a little bit of patience and the right information to guide your hands through the process. In the following sections, we are going to explore why certain stitches work better for stretchy gym clothes while others are perfect for heavy denim jeans. By the time you finish reading, you will have the confidence to tackle any project with total ease and pure joy.
Why Choosing the Right Nahttypen Matters
Imagine spending hours making a beautiful pillow only to have the sides burst open the first time someone sits on it. This usually happens because the person did not choose the correct nahttypen for that specific type of fabric or weight. Every material reacts differently to being poked by a needle and pulled by a thread, so you must match them up perfectly. Professional tailors spend a lot of time thinking about this because it determines the overall quality and durability of the finished product. If you want your handmade items to look like they came from a high-end luxury store in the USA, you have to master this basic skill first.
Using the wrong nahttypen can also make your fabric look bunchy or wrinkled, which nobody wants to see on their beautiful handmade clothes. For example, if you use a very tight stitch on a thin silk fabric, it might pucker and look messy no matter how much you try to iron it. On the other hand, using a loose stitch on heavy canvas will result in a weak bond that won’t hold up under daily pressure. By learning the science behind these stitches, you ensure that every project you finish looks smooth, professional, and incredibly strong. It is all about giving your fabric the respect and the specific care it needs to truly shine in any setting.
| Stitch Style | Best Fabric Use | Premium Benefit | Skill Level |
|---|---|---|---|
| Straight Stitch | Woven Cotton | Structural Integrity | Beginner |
| Zig-Zag Stitch | Jersey / Spandex | Maximum Flexibility | Beginner |
| French Seam | Silk / Luxury Knits | Invisible Clean Edges | Intermediate |
| Flatlock Seam | Activewear | Skin Comfort & Softness | Advanced |
Exploring the Foundations: The Straight Stitch
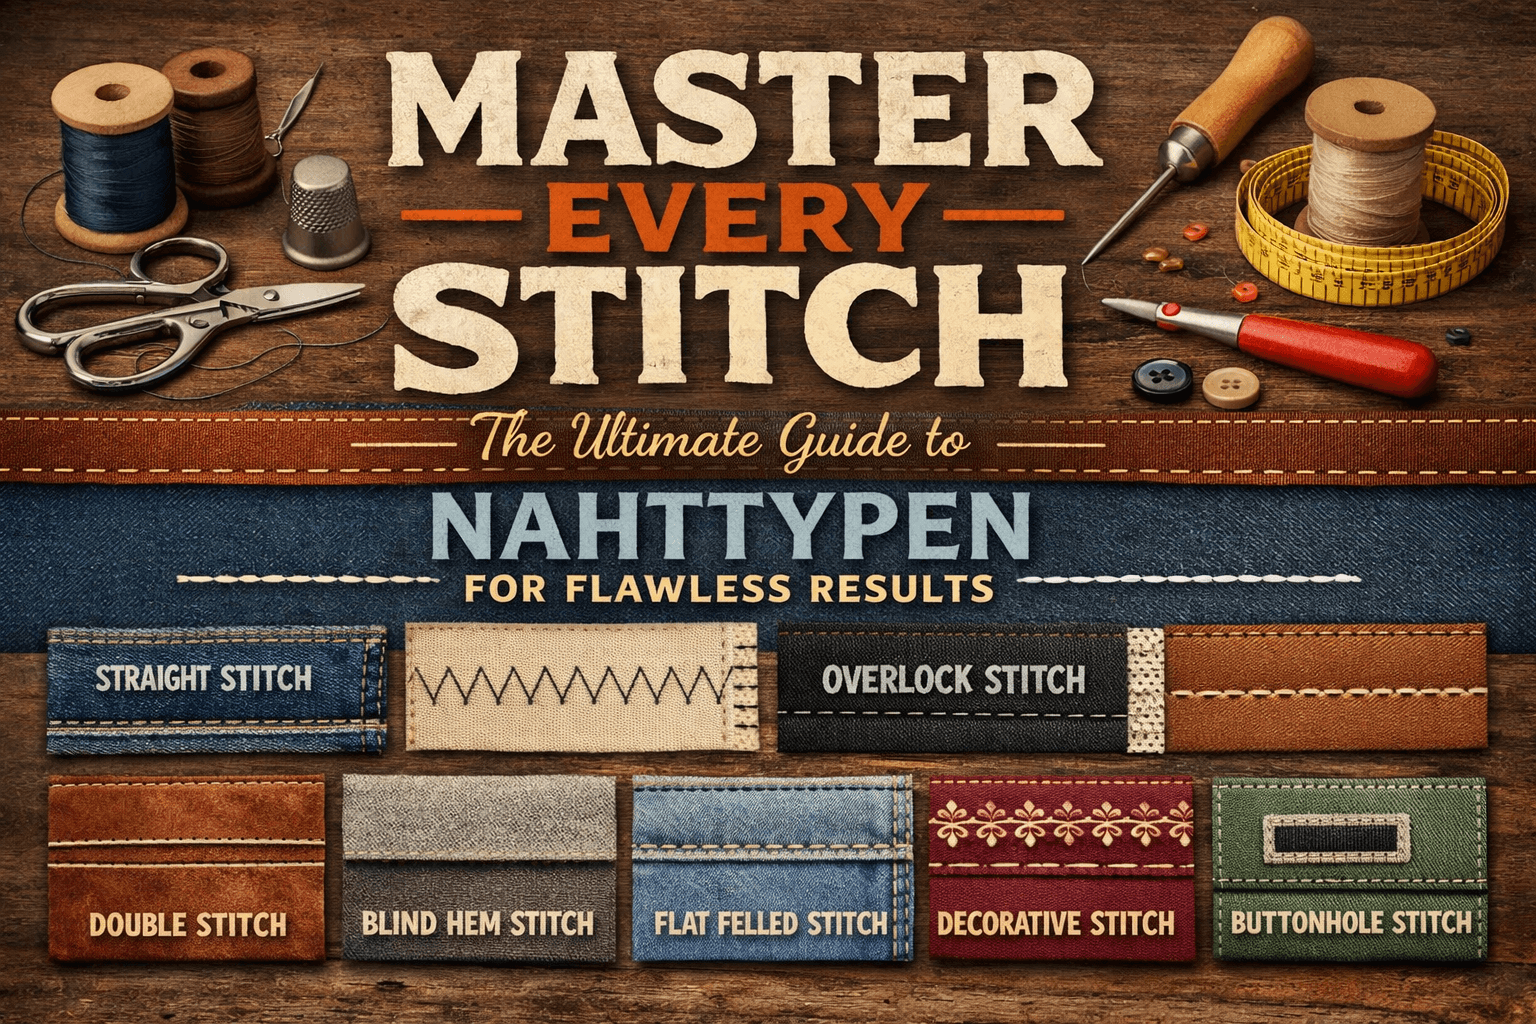
The most common of all nahttypen is definitely the straight stitch because it is so versatile and easy to use for almost everything you create. Most sewing machines default to this setting because it is the “bread and butter” of the sewing world for beginners and experts alike. You use this when you want a clean, thin line that holds two pieces of fabric together without any extra fuss or bulk. It is perfect for seams that stay hidden on the inside of your clothes where nobody else will ever see them. Even though it is simple, it remains the most powerful and essential tool in your entire sewing kit for daily success.
When you are practicing different nahttypen, you will notice that the length of your straight stitch can change how the fabric behaves during use. A very short stitch is extremely strong but can be very hard to remove if you make a mistake and need to use a seam ripper to start over. A longer stitch, often called a basting stitch, is great for temporarily holding things in place before you do the final, permanent sewing. Most people in the USA prefer a medium length for daily projects like making curtains or basic cotton shirts. Keeping your lines straight is the best way to make sure your project looks neat and well-made from start to finish.
Stretchy Materials and the Zig-Zag Method
If you are working with fabrics that stretch, like the kind used for leggings or t-shirts, you cannot use a simple straight line. You need nahttypen that can move and grow with the fabric, which is exactly why the zig-zag stitch was invented by clever designers. Because the thread goes back and forth in a “V” shape, it has extra slack that allows the fabric to pull without snapping the thread. If you used a straight stitch on a stretchy headband, the thread would break the very first time you tried to put it on your head. This zig-zag method prevents that frustrating and common problem from ever happening again.
Another great use for these specific nahttypen is to finish the raw edges of your fabric so they do not fray or fall apart in the wash. When you cut fabric, the tiny loose threads at the edge love to wiggle out and make a mess over time. By running a zig-zag stitch along that edge, you lock those threads in place and keep everything looking tidy for many years to come. It is a quick and easy way to give your projects a “finished” look even if you do not own an expensive overlock machine. It is an absolutely must-know technique for anyone who wants their crafts to stay durable and beautiful.
Luxury Finishes: The French Seam Elegance
For those who love working with delicate materials like silk or sheer lace, the French seam is one of the most beautiful nahttypen you can learn. It is a “seam within a seam” that completely hides the raw edges of the fabric inside a tiny envelope of thread. This means when you look at the inside of the garment, you see a clean, finished edge instead of messy threads hanging out. It is often used in high-end bridal wear and luxury clothing because it looks so sophisticated and tidy. It adds a touch of pure class to any project and makes it feel much more expensive and high-quality than it actually was to make.
Creating these elegant nahttypen takes a little bit of extra time because you actually have to sew the seam twice. First, you sew with the “wrong” sides of the fabric together, then you trim it down, flip it, and sew again with the “right” sides together. While it sounds like a lot of work, the result is so strong and pretty that you will want to use it on everything you make. It is especially helpful for fabrics that are very thin and prone to falling apart at the edges. Once you see a finished French seam, you will understand why it is a favorite among professional dressmakers all over the world today.
Comfort First: Mastering the Flatlock Seam
When you look at high-quality athletic wear, you might notice that the seams are completely flat against the skin for better performance. These specialized nahttypen are known as flatlock seams, and they are designed specifically to prevent rubbing or chafing during heavy exercise. Instead of having two pieces of fabric folded over each other, the edges sit side-by-side and are stitched together in a way that creates no bulk at all. This is very popular in the USA for yoga pants, running shirts, and even baby clothes because it feels so incredibly soft. It requires a bit more skill to master, but the comfort it provides is well worth the extra effort.
Learning to create these types of nahttypen usually involves a special machine, but you can mimic the look with a standard home machine if you are careful. The goal is always to make sure the transition from one piece of fabric to the next is as smooth as possible. This is especially important for people with sensitive skin who find traditional bulky seams to be itchy or annoying. By choosing a flat construction, you are prioritizing the experience of the person wearing the clothes. It shows that you care about the small details that make a huge difference in how a garment actually feels during a very long day of wear.
Precision Control: Tension and Needle Choice
Tension refers to how tightly the machine holds the thread as it passes through the fabric to create your nahttypen. If the tension is too tight, your fabric will bunch up and look like a piece of crumpled paper. If it is too loose, the stitches will look loopy and weak, almost like they are falling off the fabric. Most machines have a dial that lets you adjust this, and finding the “sweet spot” is key to a professional finish. You should always test your stitches on a scrap piece of the same fabric before you start sewing the real thing to make sure it looks perfect and maintains its strength.
Proper tension ensures that your nahttypen are balanced, meaning the top thread and the bottom thread meet exactly in the middle of the fabric layers. When this balance is achieved, the seam is at its strongest point and will look identical on both the front and the back. It might take a few tries to get it right, especially when switching between very thick and very thin materials. Don’t be afraid to turn that dial! Understanding how tension works gives you total control over your machine and allows you to create high-quality items that can withstand a lot of wear and tear over many years of use.
Conclusion: Crafting Your Vision
Mastering the various nahttypen is a journey that opens up a world of creative possibilities for you. From the simplest straight stitch to the most complex decorative patterns, each one serves a unique purpose in helping you create something truly wonderful. By taking the time to learn which stitch works best for each fabric, you are ensuring that your projects are strong, comfortable, and beautiful. Remember that everyone starts as a beginner, and every mistake is just a lesson that helps you get better for the next time you sit down to create your masterpiece.
Common Questions About Nahttypen
What is the best stitch for beginners?
The straight stitch is the most important of all nahttypen. It is used for nearly 90% of sewing tasks and is the best place to start your journey.
How do I stop fabric from fraying?
Using a zig-zag stitch along the raw edges is one of the easiest nahttypen to prevent your fabric from falling apart in the washing machine.
Why do my stitches keep skipping?
This usually happens if your needle is dull or the wrong size. Matching your needle to your chosen nahttypen is essential for a smooth and professional sewing experience.
Can I sew knits with a straight stitch?
It is not recommended. Stretchy fabrics need flexible nahttypen like the zig-zag stitch so the threads do not snap when the fabric is pulled or worn.
What is a French seam?
This is a luxury technique that hides the raw edges of fabric inside the seam, creating a beautiful and clean finish on both sides of the garment.
How often should I change my needle?
For perfect nahttypen, you should change your needle every 8 hours of sewing time or at the start of every new major project for the best results.